


Please hold on while we load everything up...
(This may take a minute if there are a lot of photos in the series)
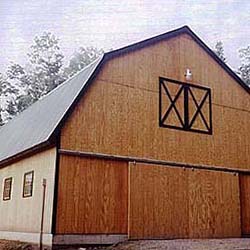
In August 2001 we featured the 32x40 Horse Barn built by Kathleen Doyle, Office Administrator for an Environmental Engineering Company and her partner Anne Breen, Chief of Security at the New Hampshire Technical Institute in Concord, New Hampshire,who own a Gambrel Log home on 10 Acres in Salisbury, New Hampshire. They also own 2 horses and needed to build a barn that would not only accommodate the horses, but would also serve as a storage area for yard equipment and a tractor. Kathleen and Anne wanted a Gambrel style barn that would compliment their log home and felt that the 32 x 40 Horse Barn plans would adequately meet the needs of their animals and equipment. They incorporated the help of Kathleen's brother Mark Roberts, a former carpenter by trade, to assist and supervise them in the construction of the barn. In addition to Kathleen's brother, two close friends, Pat Collins and Bob Drake also added their skills and labor to the building of the barn. Over the course of the construction, several friends and neighbors were enticed by the fact that Kathleen and Anne, along with their family and friends, were building the barn themselves and eagerly volunteered their services, as well. All of the construction was done on weekends and after their regular 8 to 5 jobs. It took 3 months to complete the shell of the barn and by the end of two years, all the inside and outside finish work and trim was completed.
We'll let Kathleen walk you through the project herself......
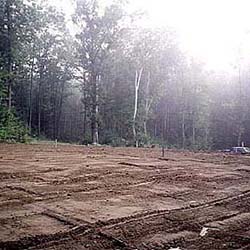
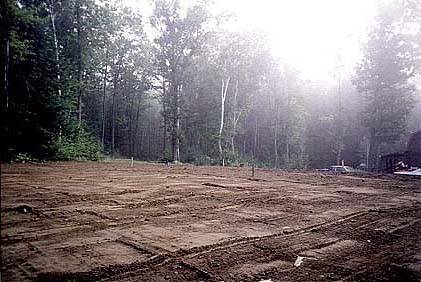
This is a shot of the property area we cut, stumped and cleared of approximately 300 trees to level and prepare the ground for the foundation of the barn.
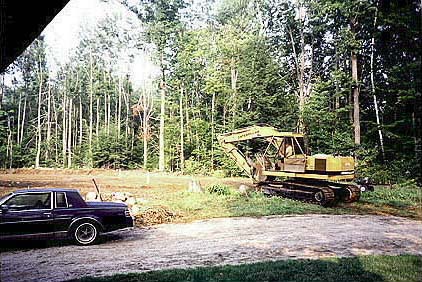
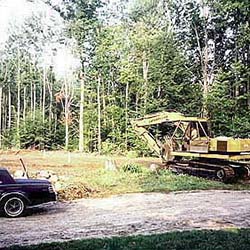
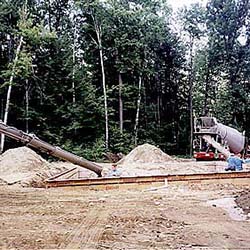
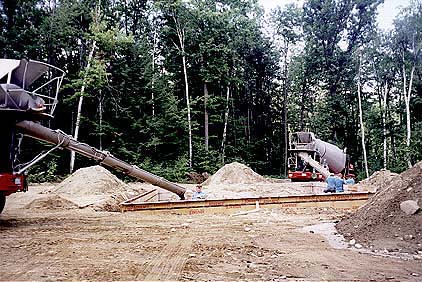
Then we brought in an excavator.......
....... to dig the trench for the frost walls and footings.
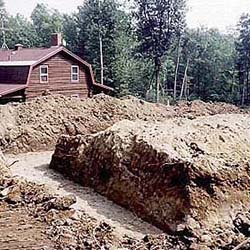
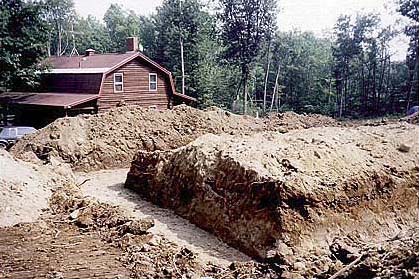
We could have built the barn on a slab but here in New England the ground will rise from the frost of the cold weather. If we had gone with a slab the barn would have heaved with the ground freezing......
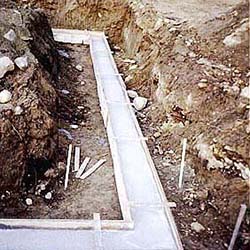
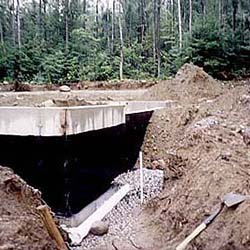
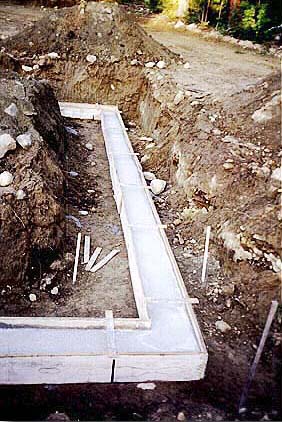
...... so we decided to pour a frost wall which is at least 4 feet below grade, thus avoiding the winter frost heaves.
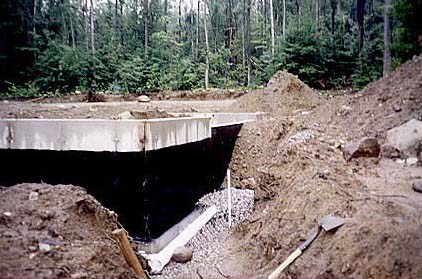
We are on a ski mountain and have a problem with water runoff in the Spring. We decided to invest in a good drainage system to direct the water runoff away from the frost wall. First we put in a 2' wide by 6" deep layer of gravel, then we put in 4" perforated drainage pipe that ran around the frost wall and out to the lowest ground level corner. We covered the pipe with another 12" of gravel and then covered the gravel with a black nylon mesh to keep the dirt out of the rock.
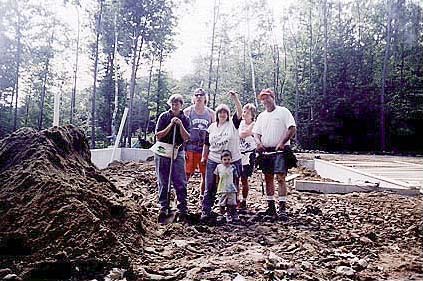
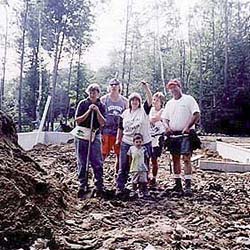
The Crew...... from left to right we have my partner Anne (shovel in hand), our good friend Bobby (sunglasses), Kathleen (me) holding my hand up. In front of me is my son Matthew (little guy), our friend Pat (black shorts) and my brother Mark (red ball cap). Mark was the foreman and interpreter of the plans. He guided us through the whole process and was very patient with us, being beginner carpenters. Mark and Bobby traveled every weekend from Rhode Island (3 hours one way) to help build the barn. The actual start date was October 1, 1999, and by December 1999, the shell of the barn, the electrical and the water were completed.
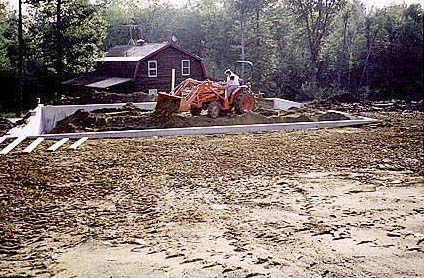
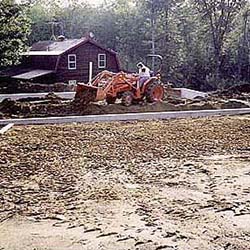
To save on the expense of the frost wall I did all the backfill work with my tractor.
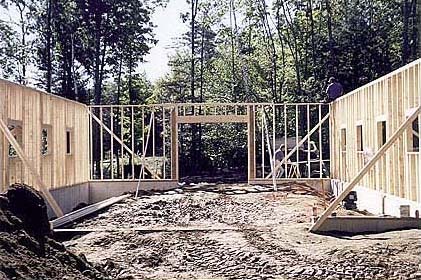
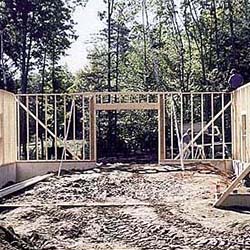
Side walls and back wall. We built the side walls and framed for the windows on the ground and then lifted them up onto the frost wall and secured them into place with 2x4 braces. We altered the plans to allow for another 10' opening in the back wall. I wanted plenty of room to drive my tractor through the barn. We decided not to build the front wall until the loft floor was in place for easy access with the tractor.
We finished putting up the floor joists, installed the plywood T & G flooring and started putting up the T1-11 plywood siding.
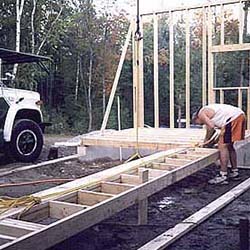
My brother brought his bucket truck (he is a lineman by trade) to lift the front wall. The front wall has a 15' door opening. This was the hardest section to pick up.... the large door opening made the wall very flimsy. He picked it up with the bucket truck while we guided it in from the bottom and sides.
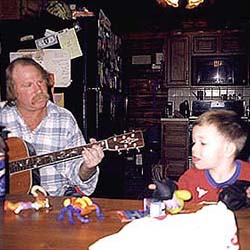
The framing of the first floor was now complete.....Bobby entertained us with a little music after a hard days work.
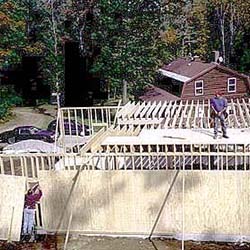
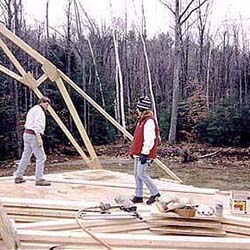
My brother built the first truss himself. He outlined the truss and built a jig on the loft floor, according to the plans. We then measured and cut all the pieces for the remaining 20 trusses that needed to be built. We picked up the one completed truss with the bucket truck and secured it in place with 2x4 braces. My brother said he would be back in two weeks and for us to use the truss template he had made to finish building the other 20 trusses.
I thought it would be hard but it was really pretty easy using the jig he had built us on the loft floor. Each time we built a truss we would drag it back out of the way and then pile the next one on top of it. In the end we had two piles of trusses on the loft floor.
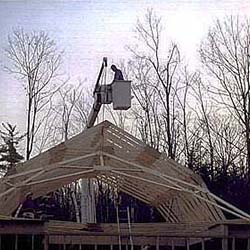
It is now Thanksgiving week. My brother has returned and, using his bucket truck, he would hoist each truss into the air while my partner, Anne, and I were at opposite sides of the trusses and we would position each truss using a 2x4 that my brother had measured and notched at each end with the exact distance each truss had to be from the next.
This nifty tool helped to make the spacing between each truss almost exact. I thought it was very clever....
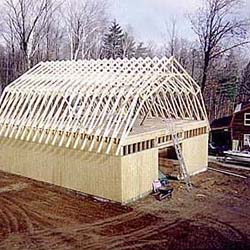
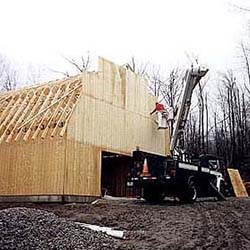
Once the framing on the ends of the trusses was completed we installed the T1-11 and fascia boards on each end.
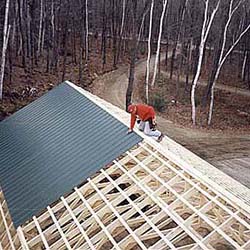
Because of the amount of snow we get here in New Hampshire we decided that the best type of roof would be a metal roof which would allow the snow to slide off and not build up on the barn. I wanted the roof color and the trim to be Forest Green. Next year we will do the house trim and roof to match the barn. We used the bucket truck to bring the pieces of metal roofing up to my brother and his co-worker, George, as they screwed them on to the roof sheathing.
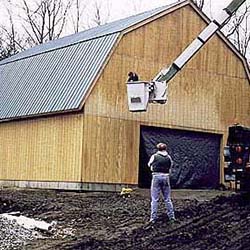
We are now a week away from Christmas. I am spraying the T1-11 with an oil base weather protectant. We have secured a tarp across the front and back door areas. The sliding doors will have to wait until Spring.
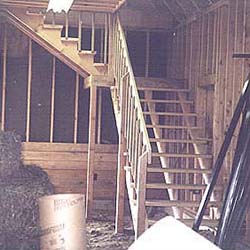
The stairs worked out real nice.
So did the railing at the edge of the loft over the horse stalls.
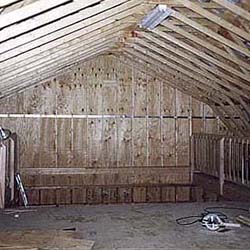
Upstairs there will be plenty of room for hay and storage.
.....and the stalls are coming right along.
Spring 2000..... we have installed the back sliding door and the top loft sliding door above it. We have also installed all the windows on one side. We have installed the front sliding doors and have trimmed around all the edges of the barn as well as put in a fake loft door above the front sliding doors. The trim work has been completed, covering all of the sliding door tracks.
Kathleen sez:
"Dano, my horses are in heaven. Each night when I go out to let them in, I sit in my lawn chair and just smile. All the neighbors would drive by real slow and watch us as we were building. Now, when I run into them at the local store, they all come up and tell us how beautiful the barn is. Many people have asked where I got the plans to build and I have given them your company name. It sure has shaped up to be a very classy looking barn. I'm constantly looking at other Gambrels in the area and comparing them to ours and, in my opinion, none are as nice".
Kathleen Doyle--Salisbury, NH
You can go through the photos by choosing from the thumbnails up at the top.